So I saw these fancy personalized baseball hats everywhere last month. Cool custom monograms? Yeah I wanted that. But store prices are nuts. Like thirty bucks for a cap then another twenty just to stitch two letters? Nah. Figured I’d try making my own.
Gathering My Stuff Was Step Zero Honestly
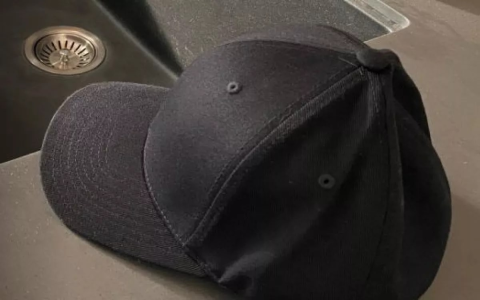
First I dug through my closet. Found an old navy cap my kid left behind. Still stiff but clean. Didn’t want to ruin a new one while practicing. Then I hit the craft store down the block.


- Embroidery floss – Grabbed black and white. Didn’t overthink colors.
- Needles with big eyes – Because my eyes ain’t what they used to be.
- Tracing paper stuff – The sticky stabilizer kind. Clerk said it helps.
- Basic fabric pen – Blue one that vanishes with water.
Total cost? Like seven bucks. Already winning.
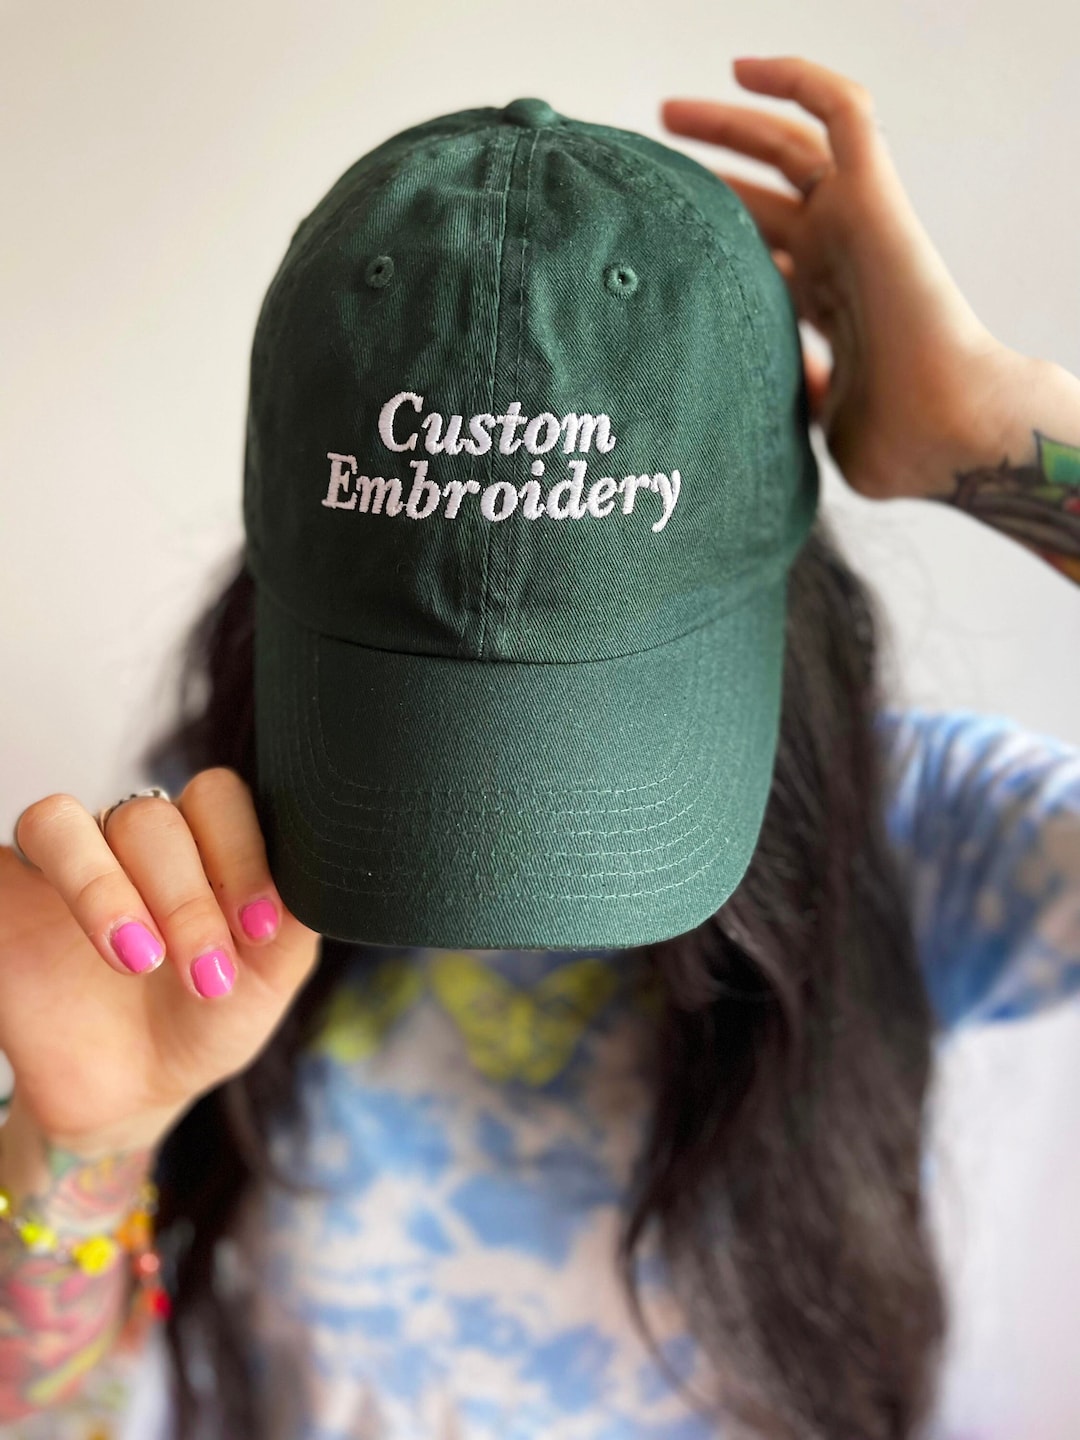
Step 1: Picking & Drawing That Monogram
Sat at the kitchen table scratching my head. What letters? Initials? Nah. Decided on just “SB” for no reason. Feels cooler than my real name. Opened up my laptop, found a simple bold font in Word. Traced it backwards onto the stabilizer paper with that blue pen. Messed up twice. Third try looked okay. Stickled that bad boy right onto the front of the cap where I wanted it. Pressed hard so it wouldn’t shift.
Step 2: Threading Nightmares Begin
Cut a long piece of black floss. Took three tries to thread that damn needle. My hands felt clumsy. Poked through the cap’s front from the inside going out. Started following my blue lines. Basic backstitch because that’s all I know. Felt awkward pulling the thread through the cap’s thickness. Got jammed halfway when I tangled the thread into a bird’s nest. Spent twenty minutes cussing and cutting knots out. Started over with shorter thread pieces this time. Went slower. Way slower.
Step 3: Sewing Till My Fingers Hurt
Just kept stabbing that needle up and down along the letters. Had to bend the cap curve under my palm to keep it flat. My thumb got sore pushing the needle through the stiff brim fabric. Changed direction a bunch trying to make corners sharp. Went over some spots twice when gaps looked too big. Took forever honestly. Probably like two hours just for those two letters. Coffee helped. TV was just noise.
Step 4: The Big Reveal (With Mishaps)
Finally clipped the last thread. Peeled off the sticky stabilizer – bits left behind. Used a damp cloth to rub off the blue lines… and some floss dye bled slightly. Mild panic. Grabbed a clean towel, dabbed gently. Mostly came out okay. Trimmed loose thread ends. Held it up. Not perfect. SB looks kinda thick, stitches a little wobbly on the curves. But you know what? It’s mine. Slapped that hat on. Felt good. Real good.
Takeaways? Don’t rush the threading. Shorter threads save sanity. Cheap cap for practice was smart. That stabilizer paper? Lifesaver. Will try another one next weekend. Maybe three letters this time. Or not.


