Alright, let me tell you about this McLaren F1 1/64 scale model I’ve been messing with. It’s been a fun little project.
First off, I grabbed this tiny McLaren F1. It was alright, you know, standard factory paint job, nothing special. But I wanted to give it some extra flair.


The Disassembly:

- Carefully took the thing apart. These 1/64 models are usually held together with tiny screws or sometimes just glued, so you gotta be gentle.
- Popped off the wheels. Usually, you can just pry them off with a small screwdriver, but be careful not to bend the axles.
- Separated the body from the chassis. This can be tricky; look for any hidden clips or screws.
The Paint Job:
- Stripped the old paint. Used some paint remover. Let it soak for a bit, then scrubbed it off with a toothbrush. Messy work, but necessary.
- Primed the bare metal. This helps the new paint stick better. I used a grey primer.
- Sprayed on the new color. I went with a bright orange. Did a couple of light coats to avoid runs.
- Let it dry completely. Patience is key here.
Details, Details, Details:
- Painted the interior. Used some black and silver for the seats and dashboard.
- Added some details to the wheels. Painted the rims a different color.
- Applied decals. Found some cool McLaren logos online and printed them out on decal paper. Cut them out carefully and applied them with water.
Reassembly:
- Put everything back together. Snapped the body onto the chassis.
- Reattached the wheels. Made sure they spun freely.
- Checked for any loose parts. Gave it a good once-over.
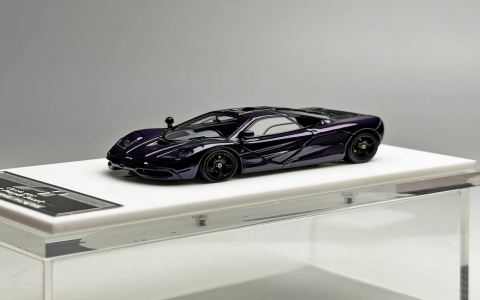
The Result:
Now it looks way better than before! A sweet custom McLaren F1. It’s a fun little display piece. Not perfect, but that’s the point of doing it myself.


