Honestly, I had this totally random idea the other night while rewatching some Lakers highlights – what if Kobe played baseball? Specifically, like, what his jersey might look like. Sounds kinda dumb now, I know, but hey, figured I’d actually try to make one. Just for kicks.
Getting Started & Thinking About The Look
First off, I needed a plain baseball jersey. Hit up the local sports discount store and just grabbed the cheapest one they had. Thin white polyester fabric, buttons down the front, team logo patch on one sleeve – pretty basic. Looked like something a Little League kid might wear, which was fine.


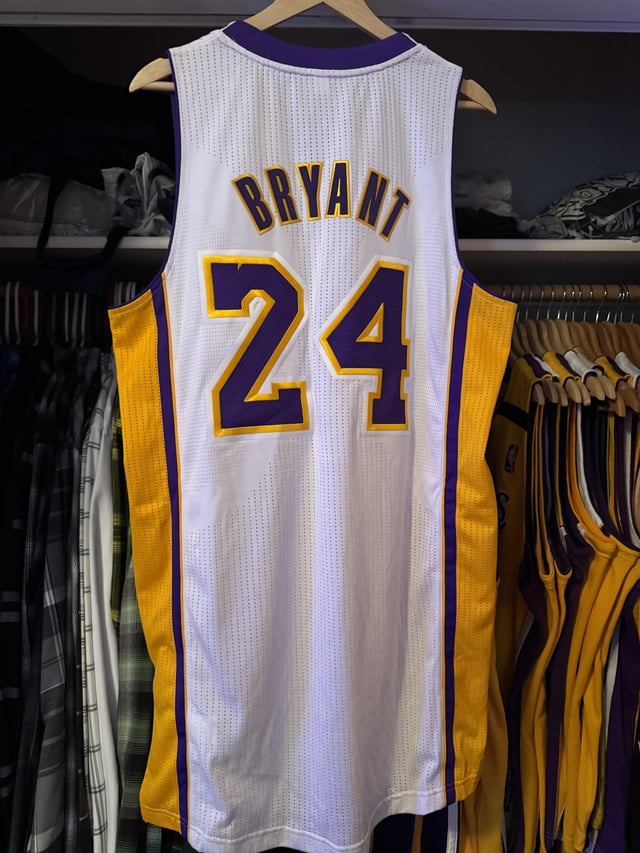
Then I got lost thinking about how to make it “Kobe”. Should I slap a Lakers logo? No, felt too obvious. Maybe his number? Yeah, definitely needed 8 or 24 on the back. But how? Wasn’t gonna pay a fortune for pro printing.
The “DIY Printing” Nightmare Begins
Remembered those iron-on transfer sheets people use for t-shirts. Found some cheap ones online. Felt like a genius! Downloaded a simple, clean font for the numbers. Hit print. Easy, right? Nope.
- First try: Ironed too long. Melted a big hole right through the number 2. Looked like burned toast. Wasted a sheet.
- Second try: Too cautious, didn’t iron long enough. Went to peel the backing paper off and the entire number stuck to the paper. Barely anything transferred to the jersey. Garbage.
- Third try (finally got the iron temp sorta okay): Managed to get a wonky 24 onto the back. But the edges looked fuzzy. And the fabric felt weirdly stiff underneath it. Didn’t care then, I was just glad it was there.
Thought about putting “Bryant” above the number. That seemed ambitious after the number struggle. Found some black fabric paint and a thin brush. Tried freehanding it. Big mistake. The letters looked like a shaky toddler wrote them. Thick, thin, wobbly. Totally uneven. Tried wiping it off with a wet cloth while it was still wet. Made a giant smudge instead. Now the back looked like it said “Bry…” and then got hit by a paintball.
Adding “Details” & The Final Mess
Desperate for some redemption, I dug out my mom’s old sewing kit. Found some yellow trim. Thought it might look cool along the collar or sleeve hems like an accent. Started hand-sewing it on. It was slow going. Poked my fingers more times than I can count. The stitches were huge and crooked. Looked terrible and felt like rope glued to my neck.
Also tried making a small “KB” logo with leftover transfer paper. Ironed it onto the front where the team name usually goes. Came out alright at first glance. But then I washed the whole damn thing – cold water, I swear! – just to see if it would hold up. Pulled it out of the wash… disaster.
- The big 24? Cracked like dried mud.
- The sad “Bry…” smudge? Faded into a weird gray ghost.
- The yellow trim? Started fraying instantly.
- The “KB” logo? Half of it peeled off entirely, leaving glue gunk on the fabric.
The “Finished” Product (Kind Of)
So yeah, it exists. I’ve got a beat-up white baseball jersey sitting in my closet now. It has a cracked 24 on the back, a ghostly smear above it, some angry yellow threads hanging off the collar, a peeling “KB” on the front, and a faint smell of burnt plastic and disappointment. Maybe from a distance, if you squint, it kinda suggests Kobe on a baseball field. But up close? It’s a hot mess.
Learned a few things, I guess? Cheap transfer paper is awful. Freehand painting is harder than it looks. Hand sewing takes patience I clearly lack. And polyester baseball jerseys weren’t meant for this kind of abuse. Turns out, you can’t just make something like this work with zero skills and cheap crap. Ended up being way harder and messier than I thought. Fun idea? Maybe. Execution? Total garbage. Now it’s just a weird reminder to maybe not try everything that pops into my head at midnight.


